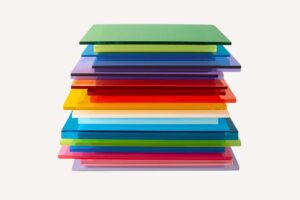
Being an extremely versatile material, Clear Acrylic can be used for any number of projects and in many different ways. It is safe to assume that different facets of acrylic’s resume will be focused upon, depending on what the project requires; it may have been picked due to its damage-resistant properties, its cost, transparency, workability and so on. But no matter what it is being utilised for one thing that most people will want to ensure is that it has a good aesthetic. That is why it is important to learn how to smooth & polish Acrylic edges.
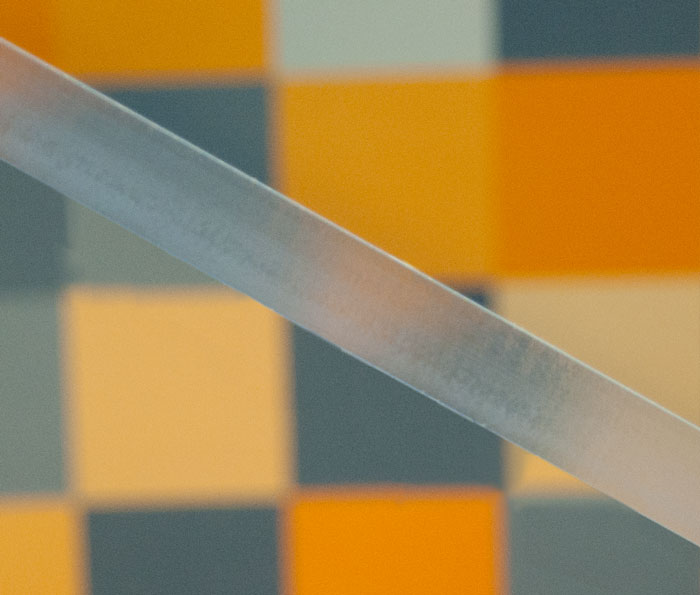
Un-polished acrylic edge as it is after being cut by a saw

Perfectly clear edge after polishing
Preparation & Cutting
The first step toward ensuring that your acrylic sheet will still look its best even after you have finished cutting, drilling and generally preparing it is simple: leave the protective film on as long as possible. The protective film which we are referring to is adhered to both surfaces of our acrylic sheets and will already be on when they are delivered; which makes the first step a very easy one to follow, as you don’t have to do anything!
Just in case you’re wondering why you ought not to remove the film; acrylic boasts a high resistance to damage so it is hard to break, but any abrasions caused by an impact or if its surface is scratched in any way the marks will be highly visible. Depending on the depth of the scratch these wounds can be effectively closed by scratch removal solutions, but ideally, you will want to avoid causing yourself the additional hassle.
An important point that you should take note of is that the way in which you machine and cut your acrylic sheet will have a profound effect on the time taken and the ease with which you can clean and polish the acrylic edges. Sawing or cutting acrylic will leave the edges rough and serrated, and you may be compelled to want to smooth these over. If this is the case please bare in mind; the more cleanly the cut is made the less sanding will be required of you, it is that simple.
To ensure you get the cleanest cut possible we recommend that you use a saw with fine, closely spaced teeth; as wide-spaced teeth will actually chip the acrylic. There are blades out there that are designed specifically for cutting acrylic and if you are able to get your hands on one of these blades you will have nothing to worry about. If you are sawing by hand we strongly suggest you use a guide, as trying to level out a sheet that is cut at a gradient by cutting it again could end badly and levelling it out with sandpaper will take you just short of forever.
Step-by-Step Instructions: Polishing Acrylic Edges
Preparation:
- Cut your acrylic sheet as desired.
- Remember: Once polished, acrylic edges cannot be glued. Gluing a polished edge will damage its aesthetic. If you need to glue already polished edges, scuff them with sandpaper to prevent damage.
Materials Required:
- Waterproof sandpaper in various grits (180, 320/360, 600).
- Water.
- Waxes, pastes, or other polishing solutions (optional).
- Buffing wheel (optional).
Wet-Sanding:
- Always wet-sand acrylic. This requires the use of water and waterproof sandpaper.
- Avoid electric-based tools to prevent accidents since water is involved.
Sanding Process:
- Start with a coarse sandpaper, around 180 grit. This is commonly used for smoothing wooden surfaces.
- Once edges are smooth, switch to a finer sandpaper, around 320/360 grit. This type gives wood a polished finish.
- Finish with 600 grit, considered super fine, to further smooth the edges.
Final Polishing (Optional):
- If you desire a highly polished finish, consider using waxes, pastes, or other solutions. Ensure the chosen solution isn’t too abrasive to avoid damaging your work.
- For an opulent finish, use a buffing wheel if available.
Completion:
- After following these steps, you should have a smooth, polished acrylic edge. Remember, practice makes perfect, so the more you refine your technique, the better your results will be.
Key Things to Remember
- Keep the protective film as long as you can
- Only use saws with closely spread teeth
- Use a guide if sawing by hand
- Always wet-sand the edges
- Do not wet-sand edges with electric sanders
- Use waterproof sandpaper
- Start off coarse, and work your way finer
- Take care when choosing cleaning & polishing solutions
For more information on Acrylic, Perspex, MDF, Dibond and Polycarbonate please visit our Guide and Blog sections of the website.
Cut Plastic Sheeting are based on the south Coast in Ivybridge, Devon UK. We have a full manufacturing facility which enables us to offer Cut To Size Acrylic as well as Cut To Size MDF. Shop our full range of products, including our Clear Acrylic, coloured acrylic and more recent MDF Wood Sheet ranges.
Our Team are always here to help with any enquiry, please send us an email or for more urgent needs give us a call – Contact Us